Rock Art Around Las Vegas
Site 1 | Site 2 | Site 3 | Site 4 | Site 5 | Site 6 | Site 7 | Site 8
Rock art is a precious resource. Please help protect and preserve these sites.
 |
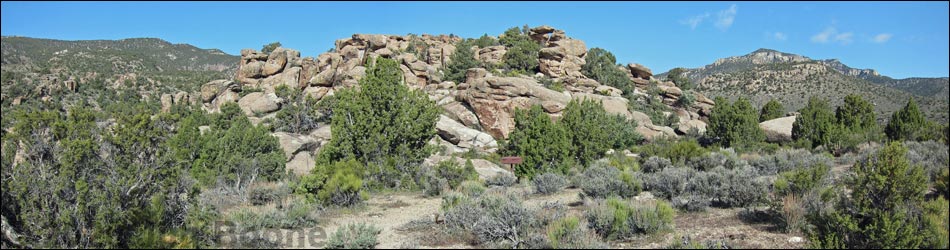
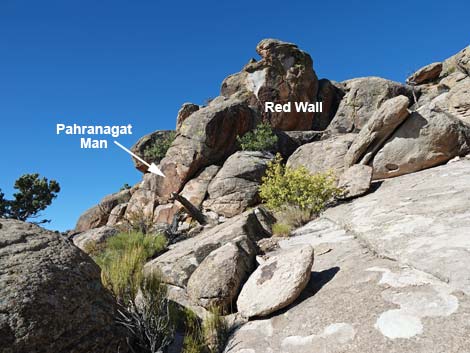
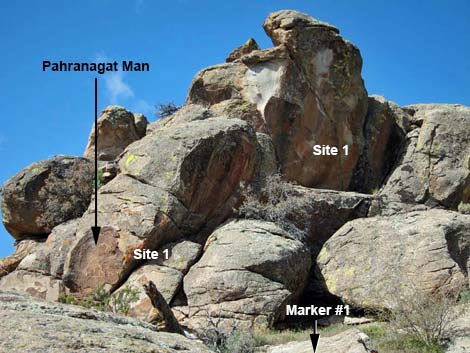
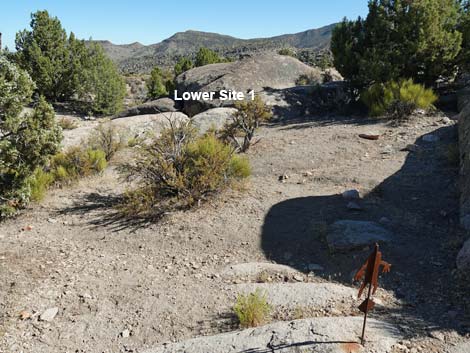
Overview The Mt. Irish Archeological District is a large area with many boulder piles and bands of low cliffs covered with petroglyphs. Shaman Hill is the largest of the public petroglyph sites in the district and consists of many boulders and rock outcrops on the east end of a ridge (which appears to be an isolated hill when looking west). Native peoples etched an extensive array of petroglyphs into the rocks and did a little painting. The BLM placed eight numbered markers around Shaman Hill, and the BLM and Lincoln County each produced brochures describing the numbered petroglyph panels (BLM brochure; Lincoln County brochure). Listed here are details of Site 1. This site consists primarily of two areas, one low on the outcrop (Pahranagat Man and associated petroglyphs) and the other higher up (red, shaded wall above and right from Pahranagat Man). Note that Marker #1 is set closer to Site 2 than it is to Site 1, and the marker for Site 2 is about 20 feet away behind the big juniper tree from Marker #1. |
 Marker #1 (sunny day; view W) |
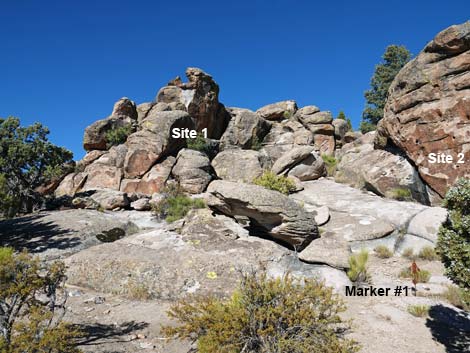
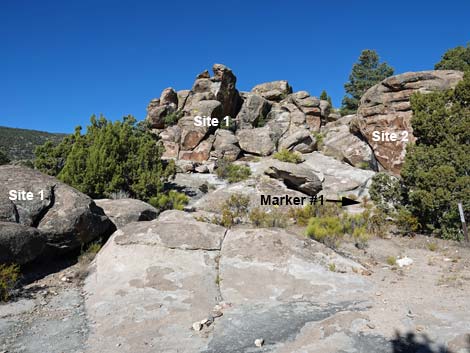 Approaching Marker #1: Site 1 and Site 2 (view NW) |
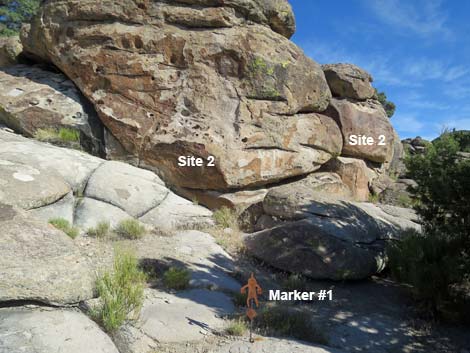 From Marker #1, Site 2 is closer than Site 1 (view N) |
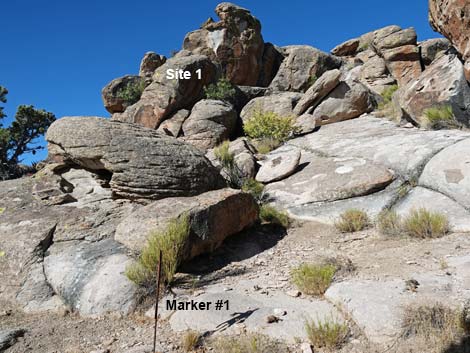
 From Marker #1, Site 1 is to the left (view SW) |
 |
 |
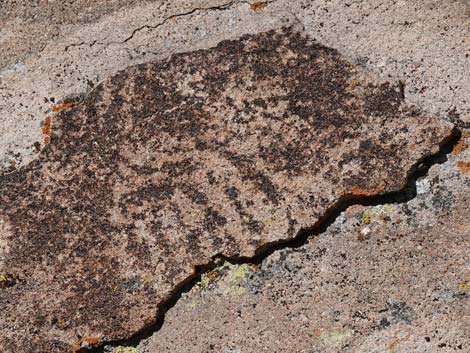
Pahranagat Man Panel
 Pahranagat Man and the red, shaded wall (view SW) |
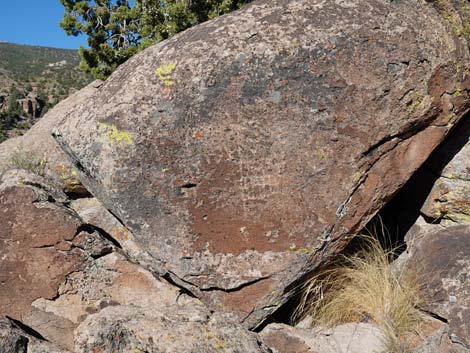
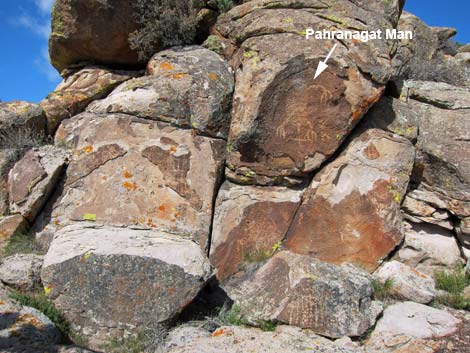 Pahranagat Man panel (view W) |
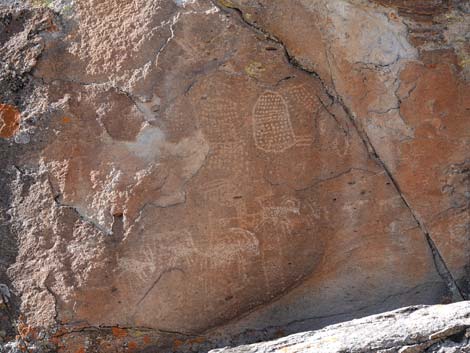
 Pahranagat Man panel (view W; sunny day) |
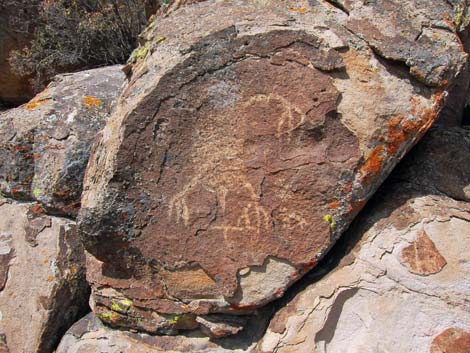 Pahranagat Man panel (view W; sunny day) |
 Pahranagat Man panel (view W; sunny day) |
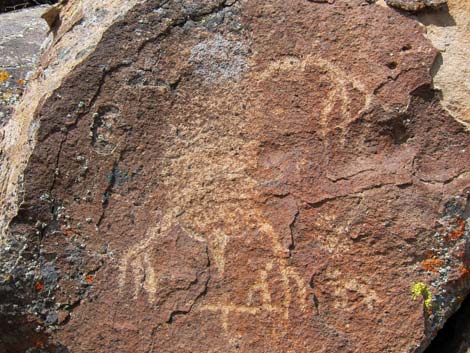 Pahranagat Man panel (view W; sunny day) |
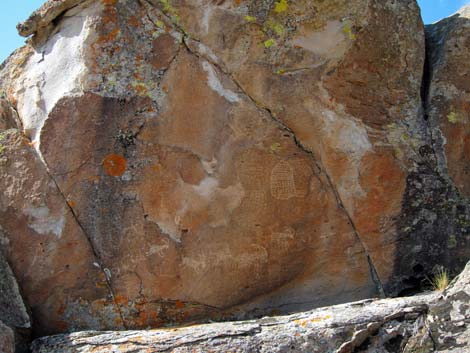
 Pahranagat Man panel (view W; cloudy day) |
 Pahranagat Man panel (view W; cloudy day) |
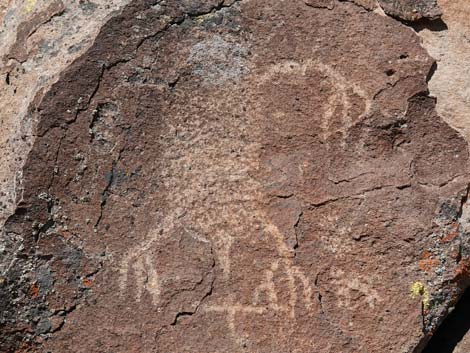
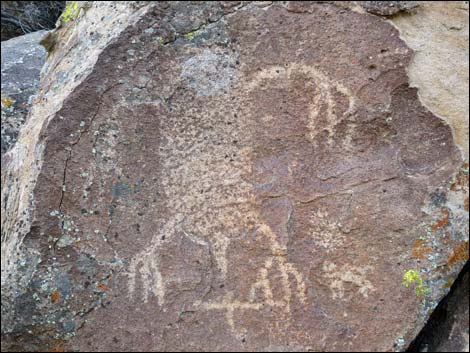
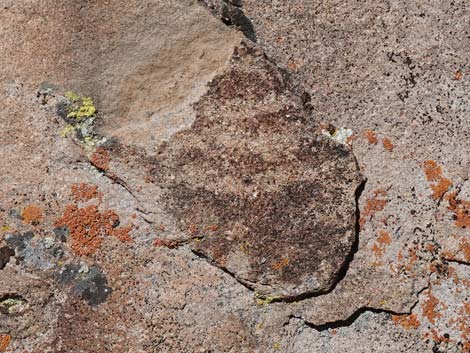
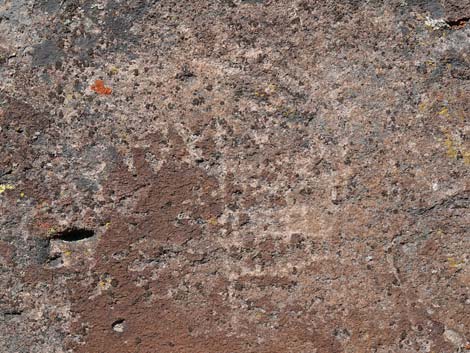
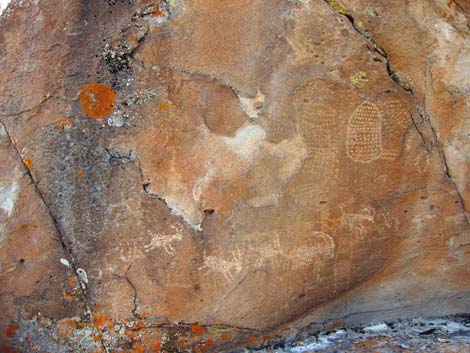
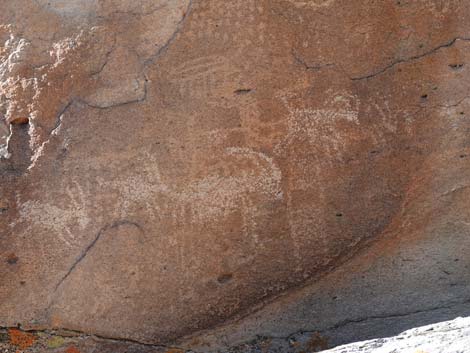
 Curious stories below Pahranagat Man's feet (view W) |
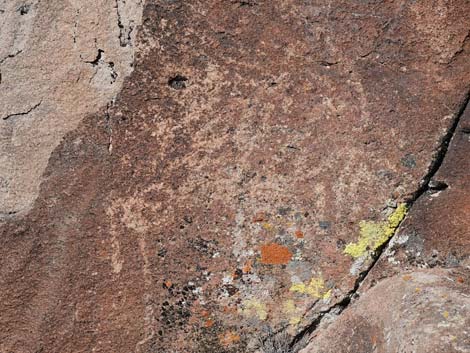 Details of curious stories below Pahranagat Man's feet (view W) |
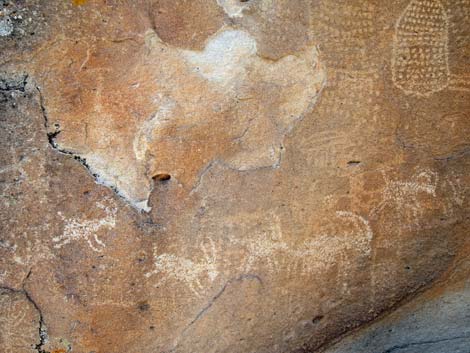
 Curious stories (view W; down and left from Pahranagat Man) |
 Curious stories (view W; down and left from Pahranagat Man) |
 |
 |
 |
 |
 Dotted lines (view W; below Pahranagat Man) |
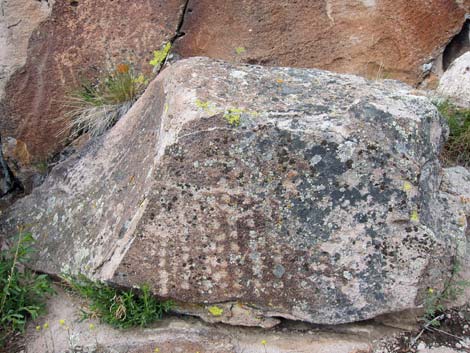 Dotted lines (view W; below Pahranagat Man) |
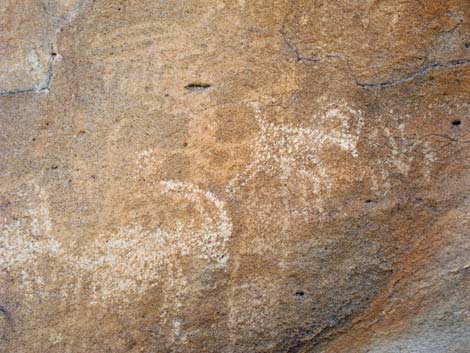
 Curious story (view W; left of Pahranagat Man) |
 Curious story details (view W; left of Pahranagat Man) |
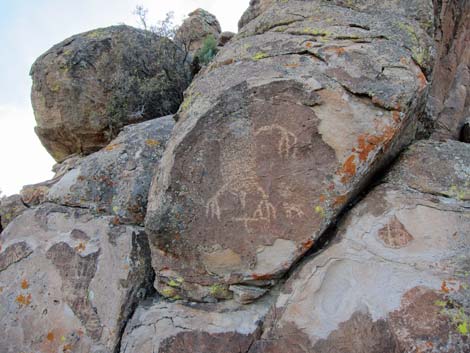
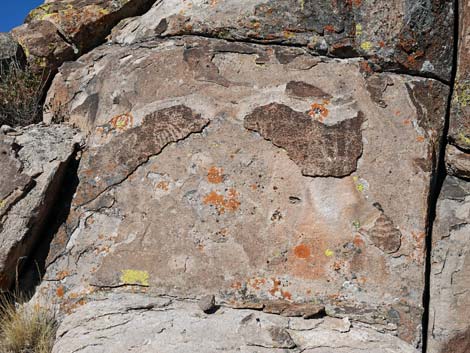
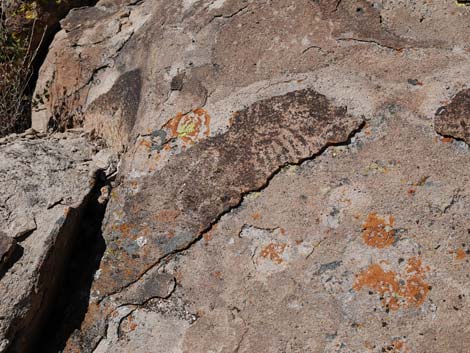
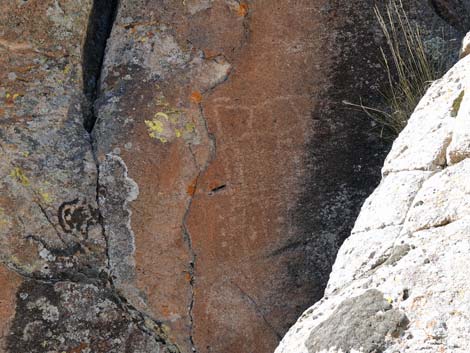
Red Wall
Red Wall above Pahranagat Man Panel (view SW) |
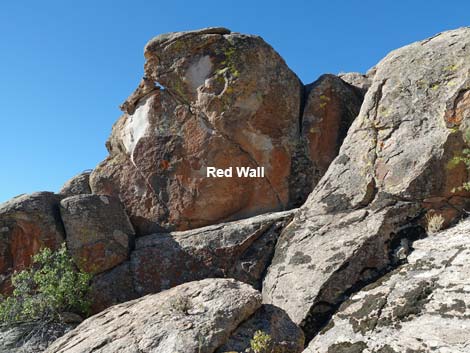 Red Wall (view SW) |
 Red Wall with mixed light (view SW) |
 Red, shaded wall (view SW) |
 Red Wall (view SW) |
 Red Wall (view SW) |
 |
 |
 |
 |
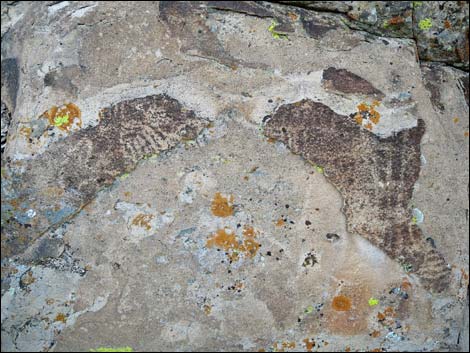
 Red Wall (view SW; lower right) |
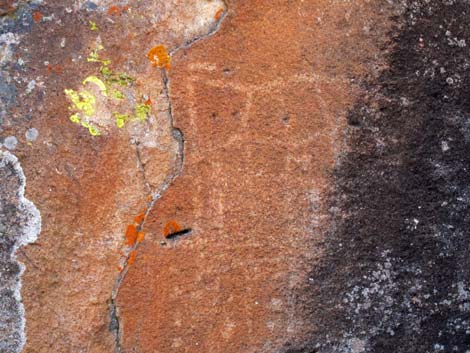 Red Wall details (view SW; lower right) |
 Red Wall (view SW; lower left) |
 Red Wall (view SW; lower left) |
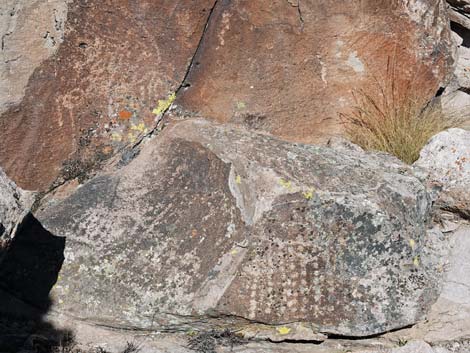
Lower Boulders
Approaching Marker #1, Lower Boulder to the left (view W) |
 Lower Boulders (view SE from Marker #1) |
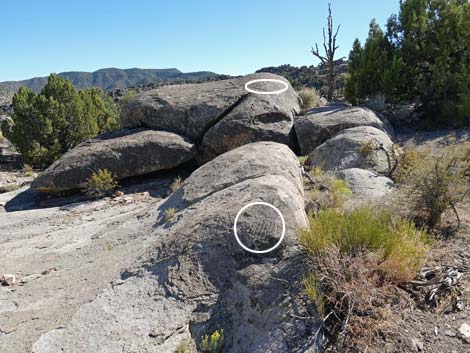 Lower Boulders (view S) |
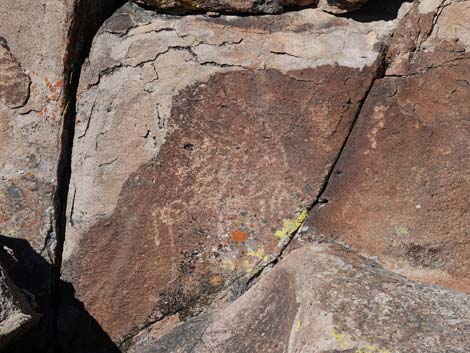
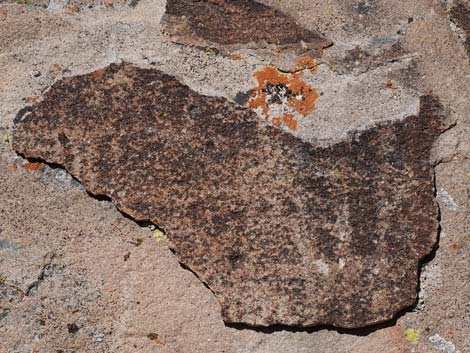
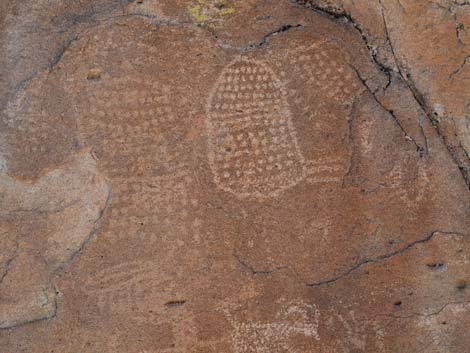
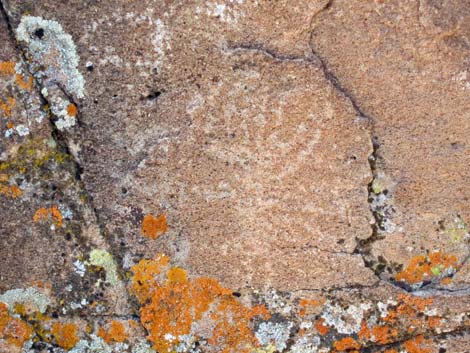
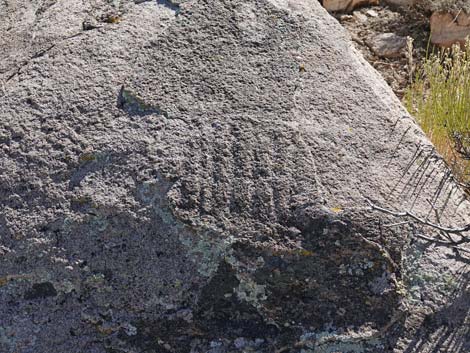 Square pattern |
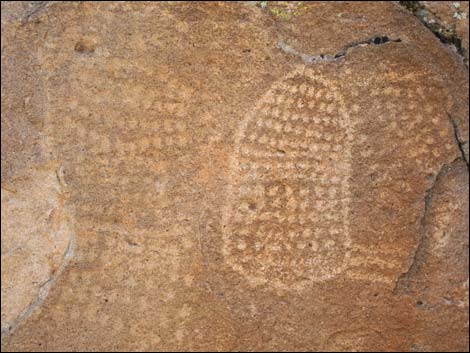
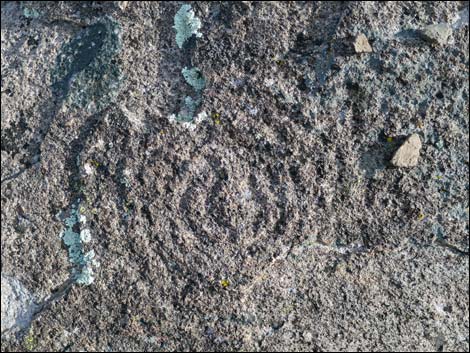 Circular pattern |
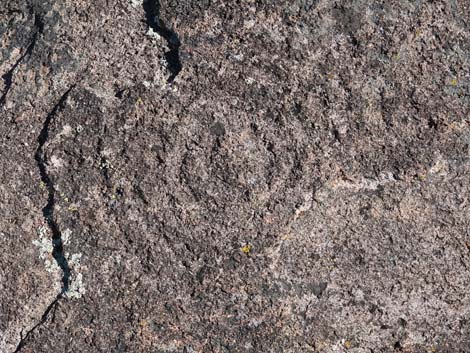 Circular pattern |
Happy Hiking! All distances, elevations, and other facts are approximate.
![]() ; Last updated 240323
; Last updated 240323
| Shaman Hill | Rock Art | Glossary | Copyright, Conditions, Disclaimer | Home |