Rock Art Around Las Vegas
Rock art is a precious resource. Please help protect and preserve these sites.
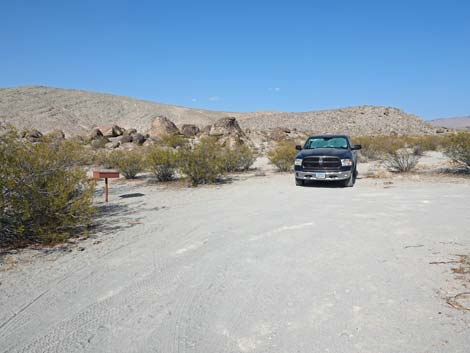
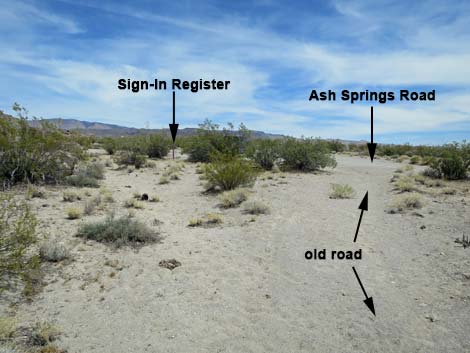
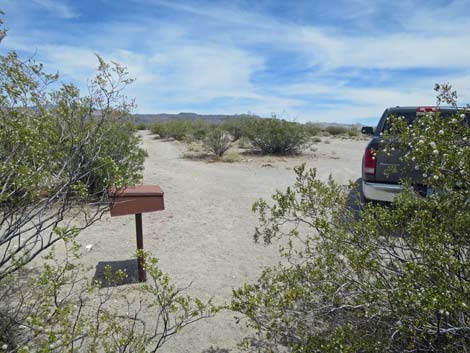
 Trailhead sign-in register box (Site 1; view N) |
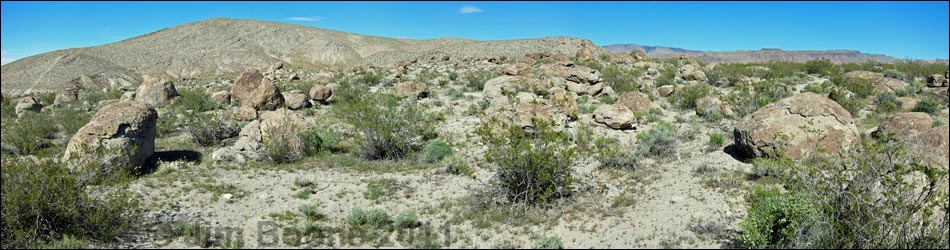
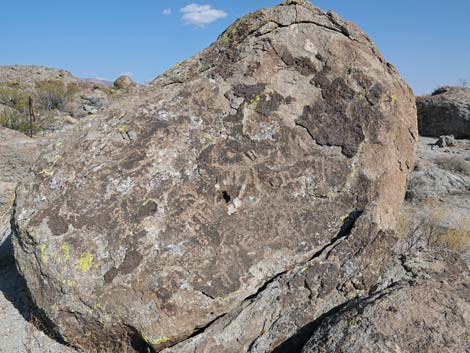
Overview The Ash Springs Petroglyph Site is an area of lightly desert-varnished boulders on a low hill overlooking the verdant Pahranagat Valley. Ancient people apparently liked the view, as they used the site as a winter camp. While there, they ground food, flaked stones, broke ceramic vessels, and etched the rocks with scenes of bighorn sheep, human figures, and intricate designs of all sorts. We don't know the meanings of the rock stories, but these people had a lot to say. The BLM and Lincoln County opened this area to the public, and Lincoln County printed a brochure with information about the site (including GPS) as part of their Get Primitive tourism campaign. Download the brochure from Lincoln County or snatch a copy here. There are two other guides for this site: an older BLM brochure (scanned from paper; 11 Mb PDF) and a newer BLM-Nevada Rock Art Foundation brochure (3.5 Mb PDF; note that the map is wrong). This site is located along Ash Springs Petroglyph Site Road. Links to Area Map, Site Map, or the old Hand-drawn BLM Map. |
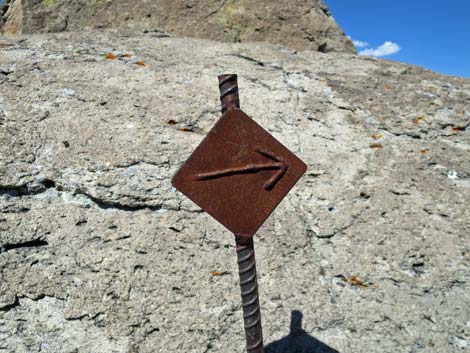
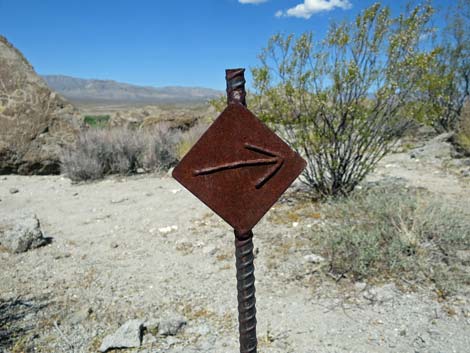
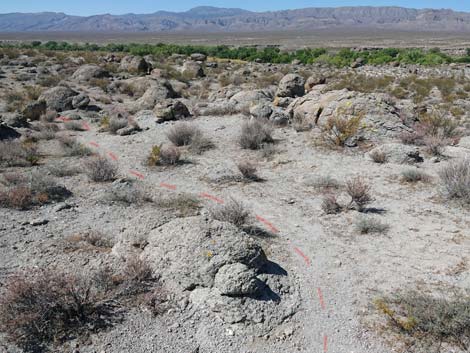
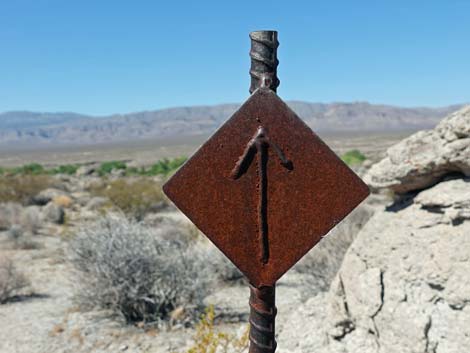
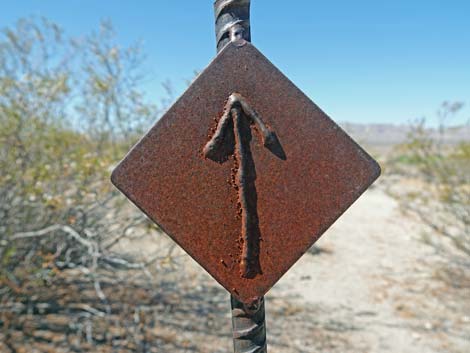
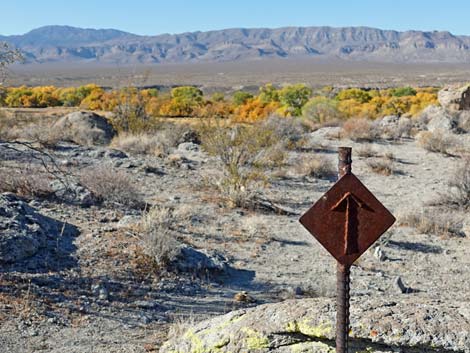
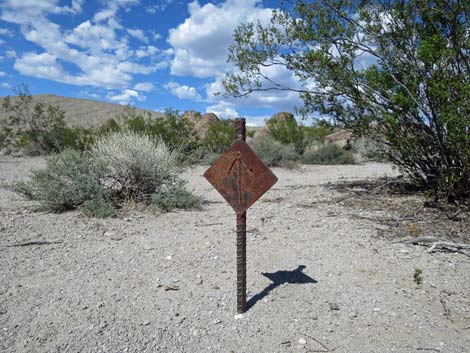 Diamond-shaped directional marker points the way (view NE) |
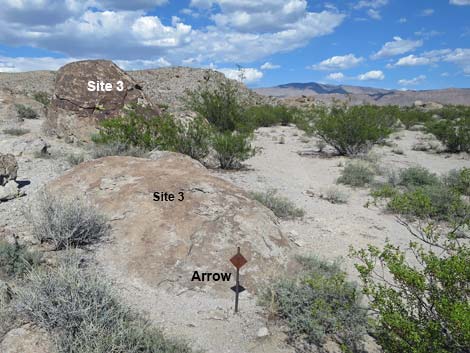
The Hike From Site 1, the sign-in register box (Table 1, Waypoint M01), the route (there is no defined trail) runs north a few paces to a small diamond-shaped metal route-marker on a short rebar post. This is a directional arrow, and the arrow indicates to proceed straight ahead, but it actually means to turn right and head northeast. Marker #2 (Wpt. M02) is only 45 feet from the sign-in register, so don't walk too far looking for it, and Marker #3 (Wpt. M03) is only 110 feet from the sign-in register. Each numbered marker indicates a site with petroglyphs or other features that correlate to the brochures (particularly the old brochure). From Marker #3 (Wpt. M03), the route turns left to run north past a series of marked boulders (Site 4, Site 5, Site 6, Site 7) to Marker #8 (Wpt. M08), with directional arrows where necessary. From Site 8, the route turns left again and begins a "long" run to the west, past a short spur trail to Site 9, to a split boulder (Split Rock, Marker #10; Wpt. M10) on a low hilltop. From Split Rock, the route runs downhill to an old road and to a set of boulders just across the dirt road Marker #11 (Wpt. M11). |
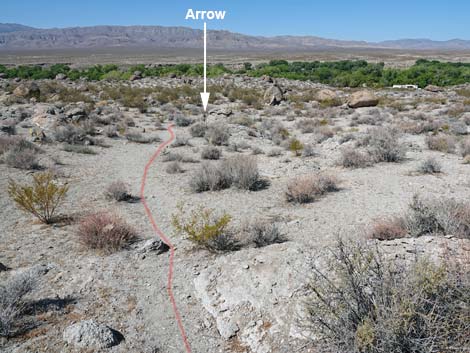
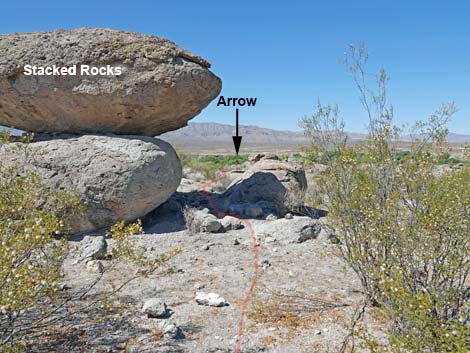
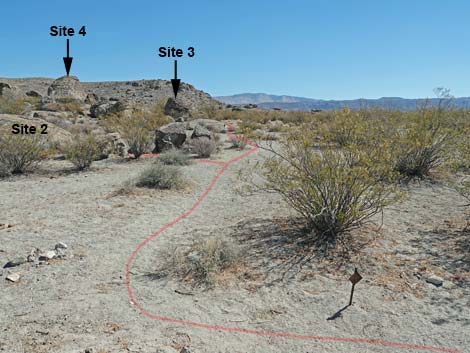 From the first arrow, the trail turns east (view E) |
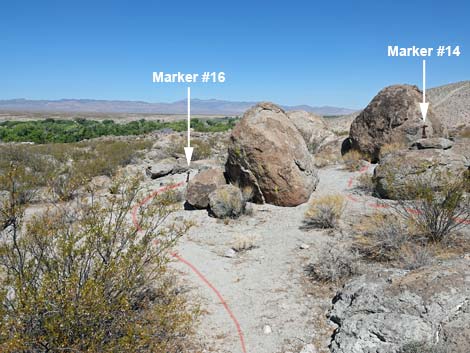
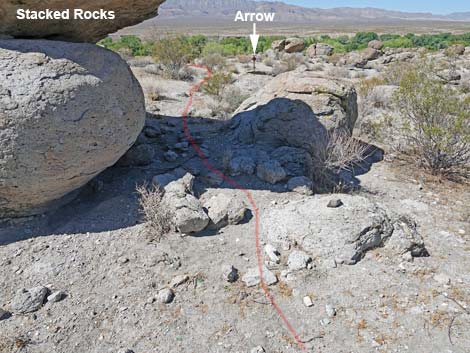
From Marker #11 (Wpt. M11), the route follows the old road south. Marker #12 (Wpt. M12) is near Marker #11, then Marker #13, Marker #14, and Marker #15 are along the old road. Marker #16 (Wpt. M16) is down the hillside below Markers #14 and #15. From Marker #16 (Wpt. M16), the route runs southwest, crosses the entrance road, passes the Stacked Boulders, and continues about 30 yards to a heavily marked, low boulder (Marker #17; Wpt. M17). The route then returns to the Stacked Boulders and recrosses the access road to a boulder on the east edge of the road (Marker #18; Wpt. M18). After visiting the boulder at Marker #18, which is just a landmark (no petroglyphs), the route follows the access road or the old road back to the trailhead (Marker #1; Wpt. M01). In the old brochure, Marker #18 is a reference point for Shaman Vista, which is the first high ridge east of the petroglyph area. Shaman Vista wasn't a living area like the petroglyph sites, but rather a lookout and a place where people congregated to work on stone tools. |
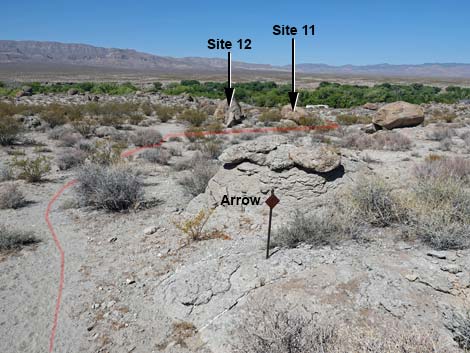
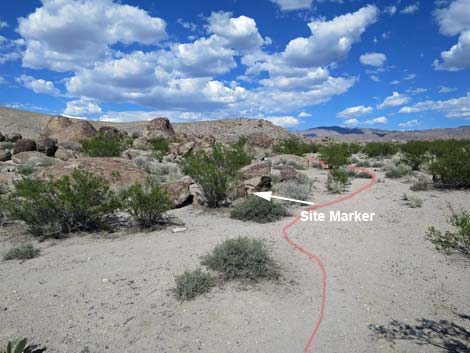 Approaching Marker #2 |
When leaving the area, be sure to visit Ash Spring, proper (across the highway from the gas station), to get a better perspective on why native peoples chose to live in this area during winter. The swimming hole is closed, but visitors can look through the fence at the warm spring and cottonwood trees and imagine a bunch of native youngsters splashing in the warm water while their mother sat in the shade of the trees while working on baskets and occasionally shouting: "Johnny, don't run on the wet rocks -- you'll slip and hit your head!" |
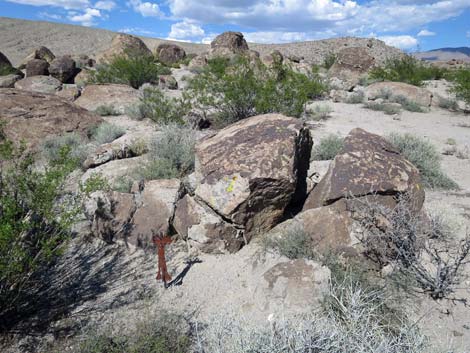 Marker #2 is the first numbered site (site NE) |
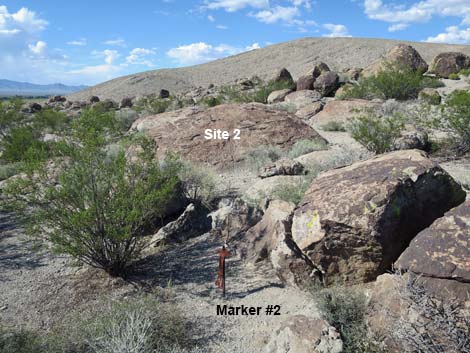 Site 2 is on the rocks north of Marker #2 (view N) |
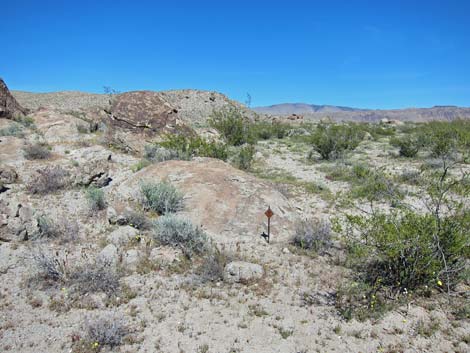 Approaching directional marker between Markers #2 and #3 (view NE) |
 Directional marker before Site 3 (view NE) |
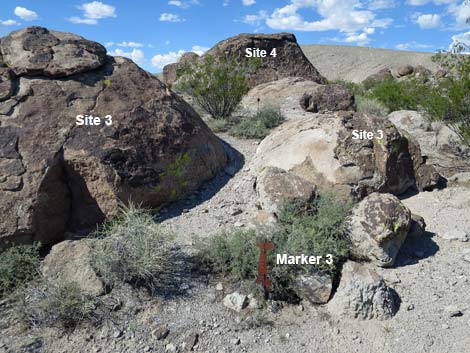 Marker #3 and two of the Site 3 boulders (view N) |
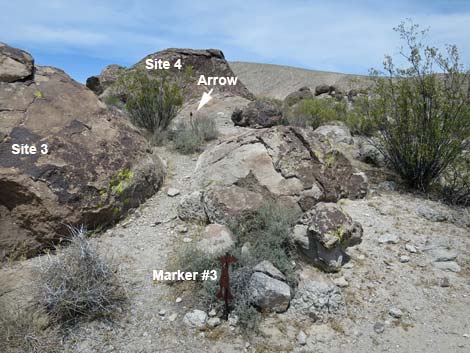 Continuing towards Site 4 (view N from Marker #3) |
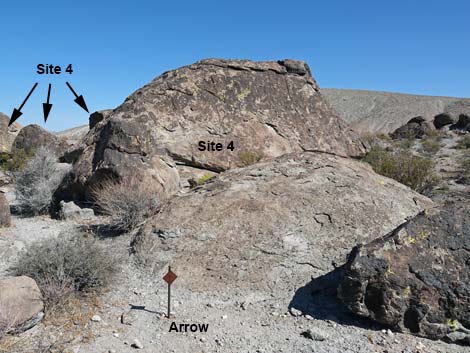 Approaching Site 4 (view N from directional arrow) |
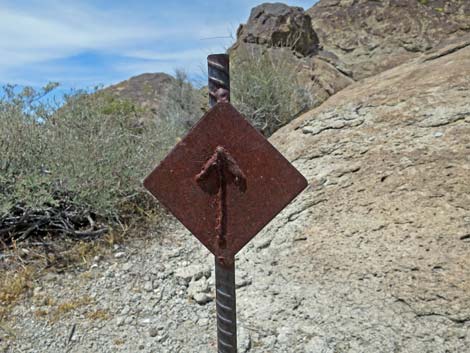 Directional arrow between Markers #3 and #4 (view N) |
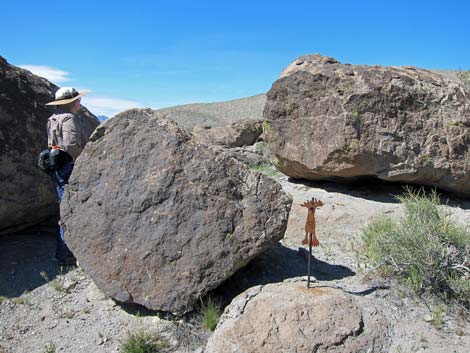 Hiker entering Site 4 (Marker #4; view N) |
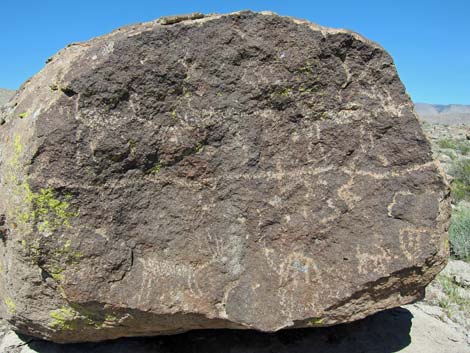 Site 4: North Boulder (view NE) |
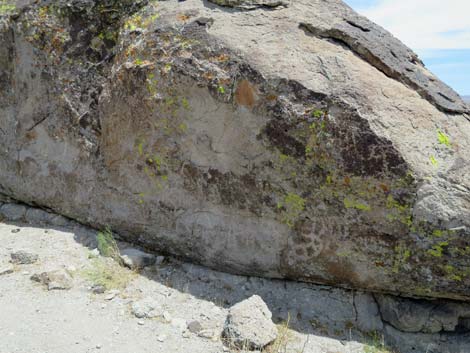 Site 4: South Boulder (view NE) |
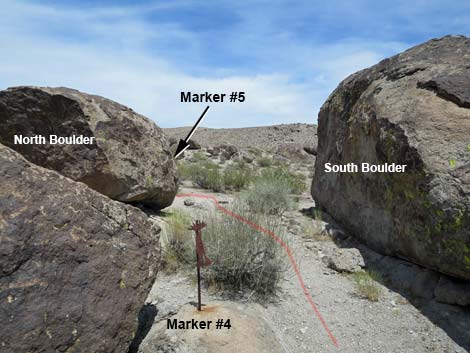 Departing Marker #4 en route to Marker #5 (view NE) |
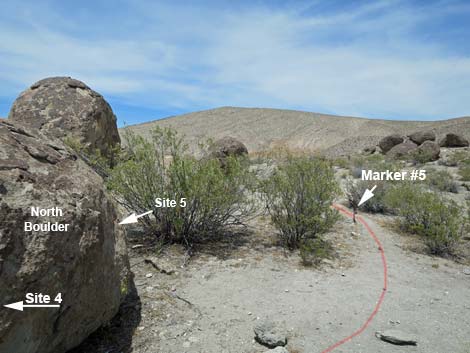 Turning the corner and approaching Marker #5 (view N) |
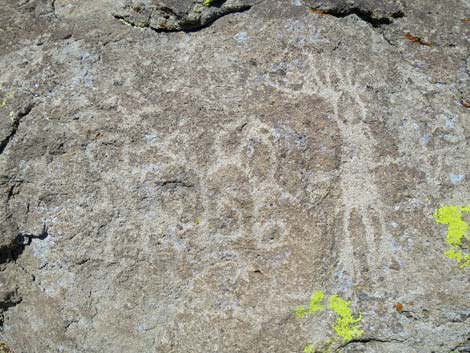 Site #5: Hallelujahs Man (backside of Site 4 North Boulder (view W) |
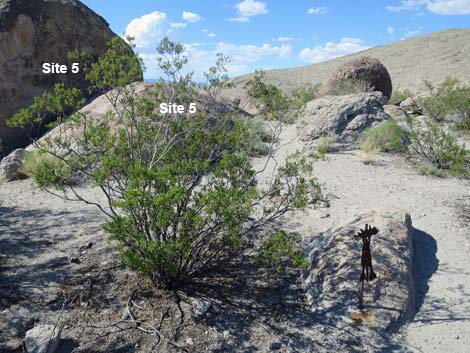 Marker #5: Scorpion Rock section (view NW) |
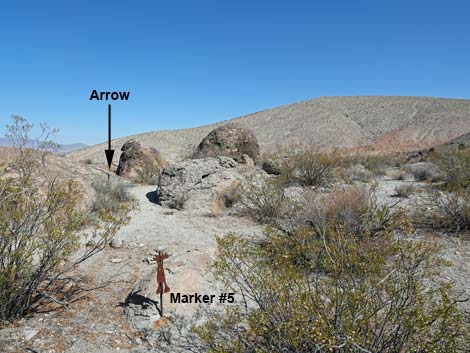 From Marker #5, the directional arrow to Site 6 is visible (view N) |
 Another diamond-shaped directional marker |
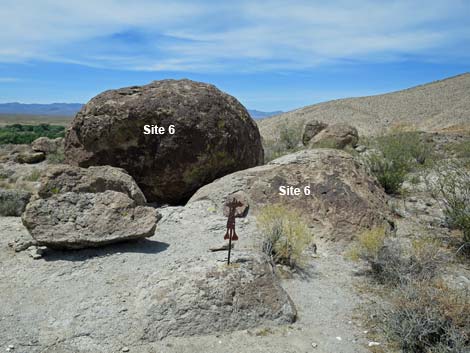 Marker #6: Turtle Rock and a nearly unmarked round boulder |
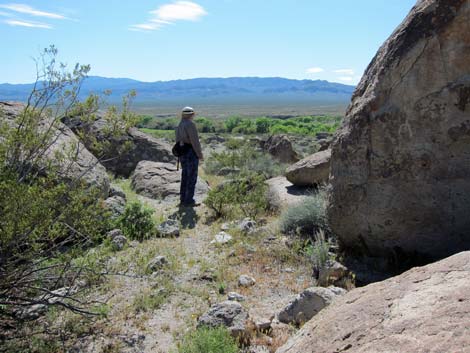 Hiker at Site #6 wondering if there is something more (view SW) |
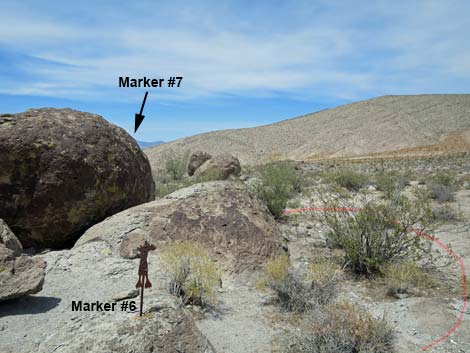 Continuing towards Marker #7 (view N from Marker #6) |
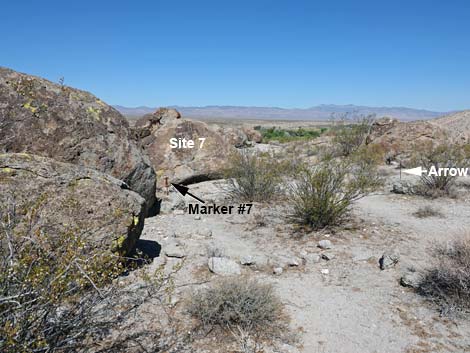 Approaching Marker #7 (view NW; note arrow towards Marker #8) |
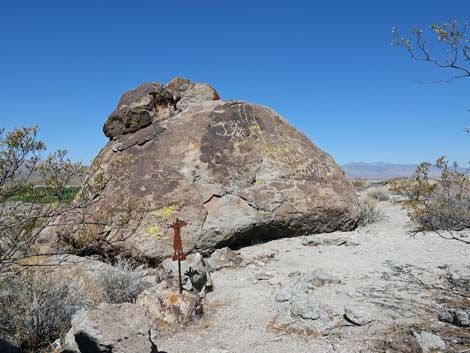 Marker #7: petroglyphs on the east side of a boulder (view NW) |
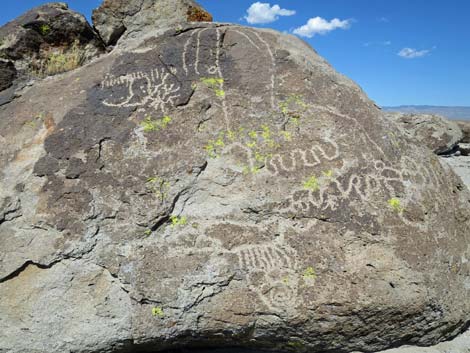 Site #7: Lots of curious stories (view NW) |
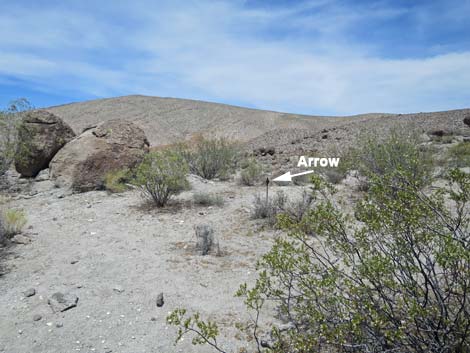 Arrow marks the route towards Marker #8 (view N) |
 Directional arrow (view NW) |
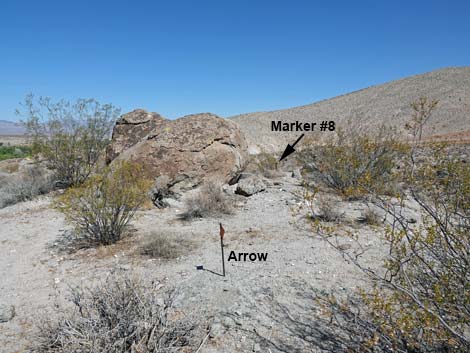 Continuing towards Marker #8 (view N) |
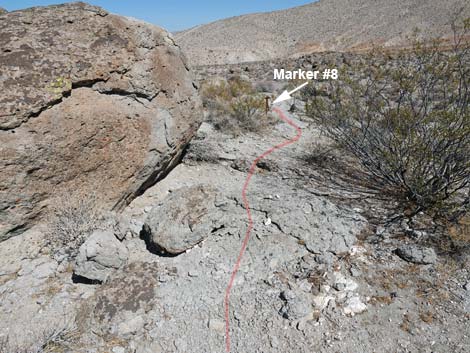 Approaching Marker #8 (view N) |
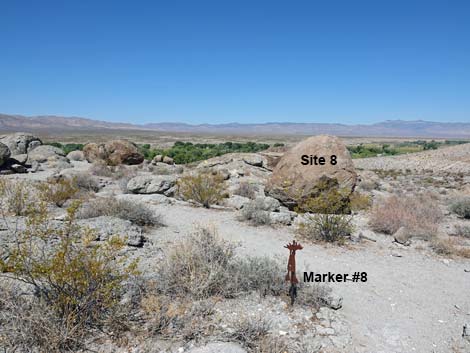 Marker #8 is in an open area (view NW) |
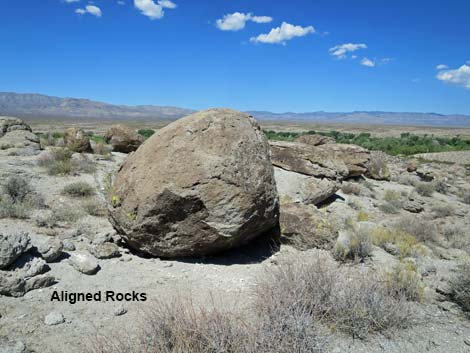 Site 8: boulder and aligned rocks (view NW) |
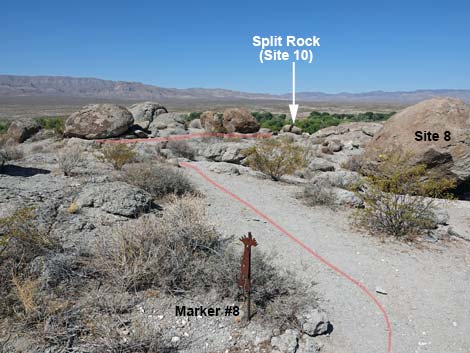 Continuing to Marker #9 (view W from Marker #8; note Split Rock) |
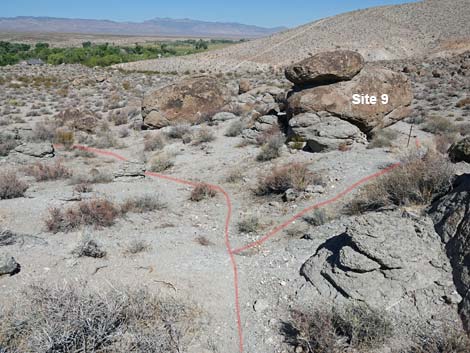
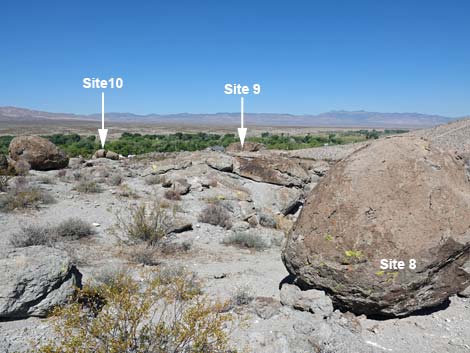 Passing Site 8, the top of Site 9 comes into view (view NW) |
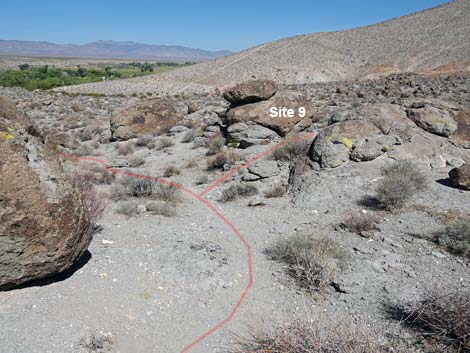 Main trail approaching spur trail to Site 9 (view NW) |
 Spur trail to Site 9 (view NW) |
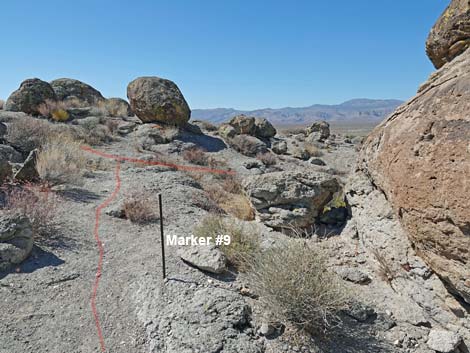
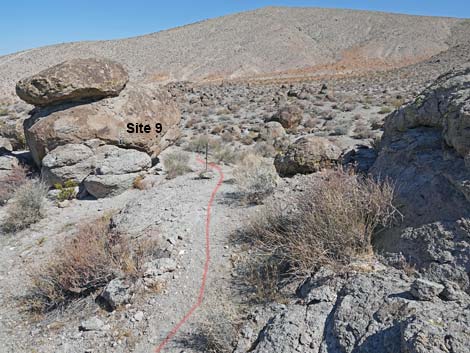 Approaching Marker #9 (view N) |
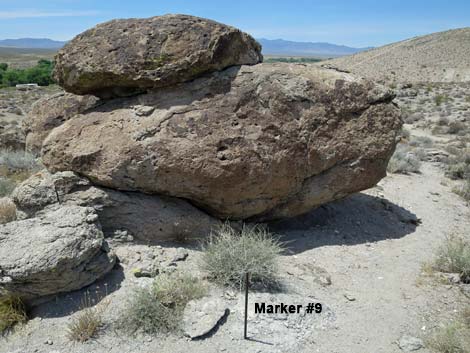 Marker #9 (only the post remains; view NW) |
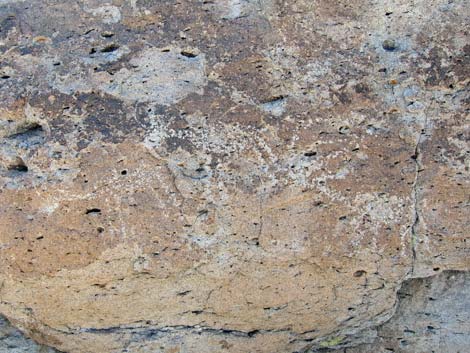 Site 9: bighorn sheep (view W) |
 Departing Site 9 (view SW) |
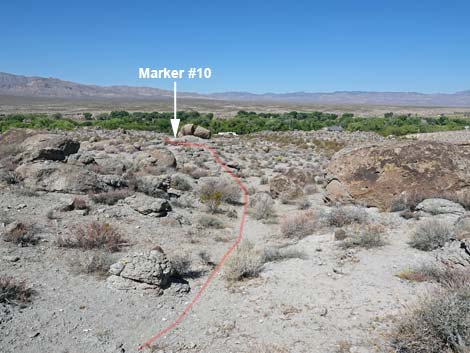 Departing Site 9 (Split Rock, Site 10, in the distance; view W) |
 Trail continues towards Split Rock (view W) |
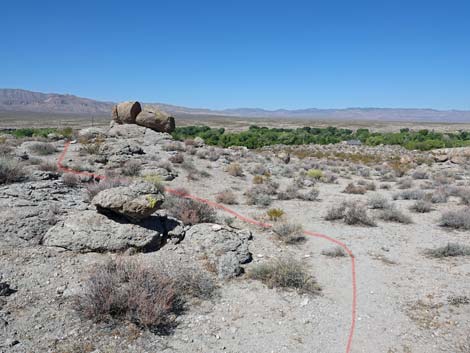
 Trail approaching Split Rock (view W) |
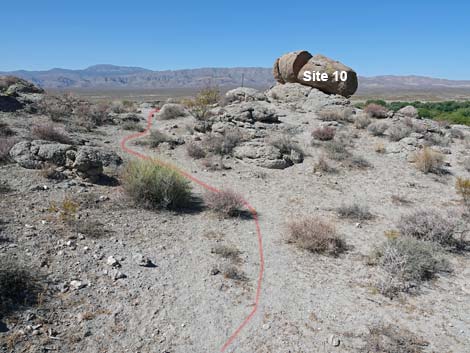
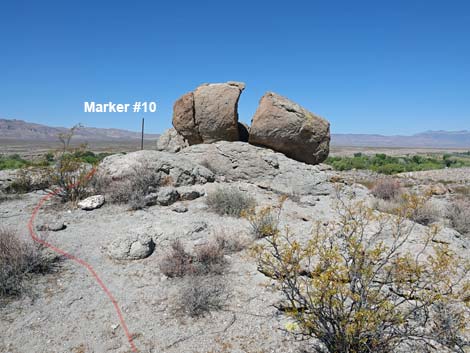 Approaching Marker #10 at Split Rock (view W) |
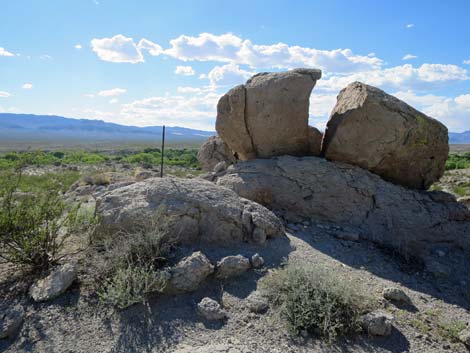 Split Rock; Marker #10 (only the post remains) |
 Marker #10 (Split Rock; only the post remains) |
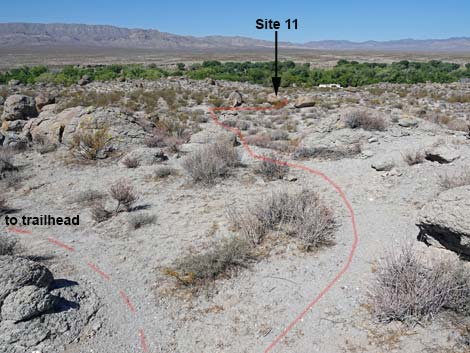 Beyond Split Rock, the trail forks: stay right (view W) |
 Left fork shortcuts back to the trailhead (view SW) |
 Right fork continues towards Marker #11 (view W) |
 Arrow marks route to Marker #11 (view W) |
 Arrow marks route to Marker #11 (view W) |
 Trail bends right and merges onto old road (view NW) |
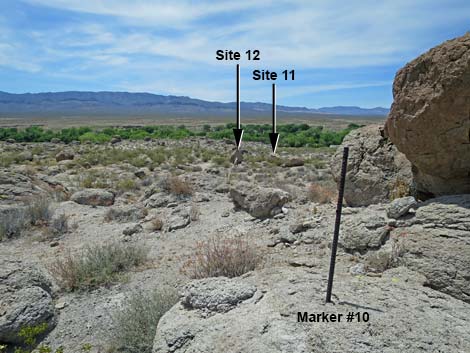
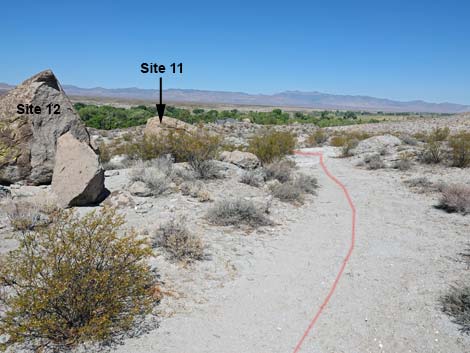 Trail follows old road past Site 12 to Site 11 (view NW) |
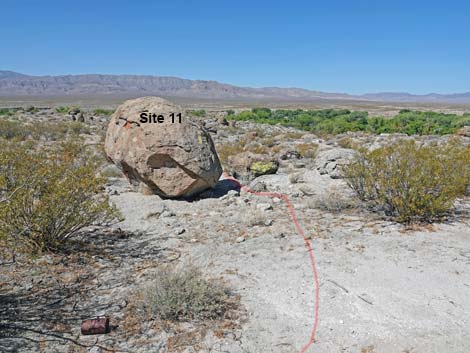 Trail leaves old road to Site 11 (view NW) |
 Marker #11 (view NE; only the post remains) |
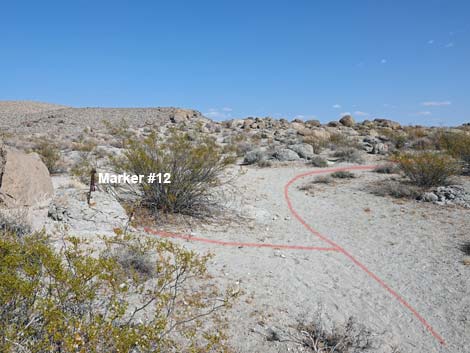
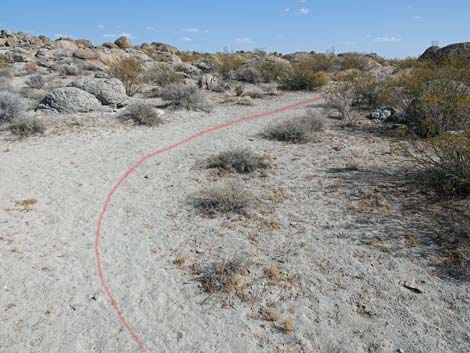
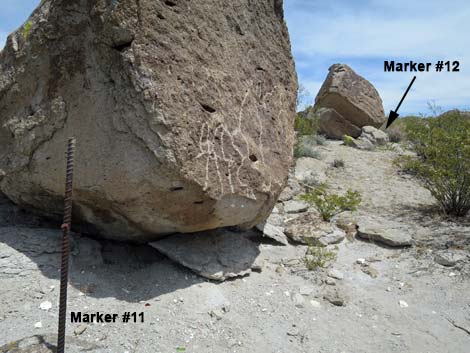 Continuing from from Marker #11 to Marker #12 (view S) |
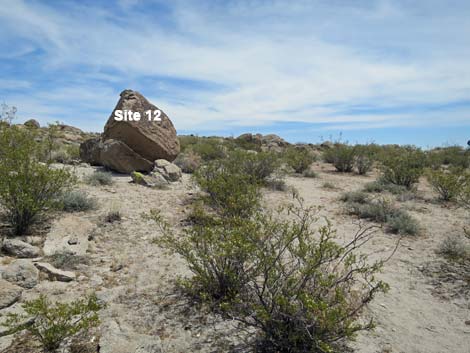 Approaching Site 12 (view S) |
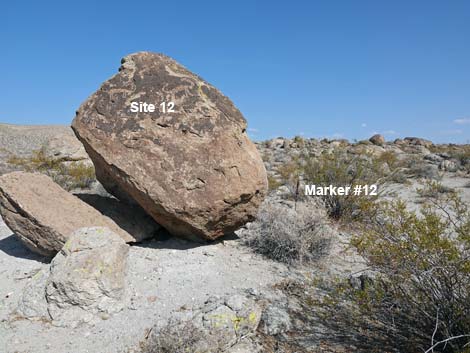 Arriving at Marker #12 (view E) |
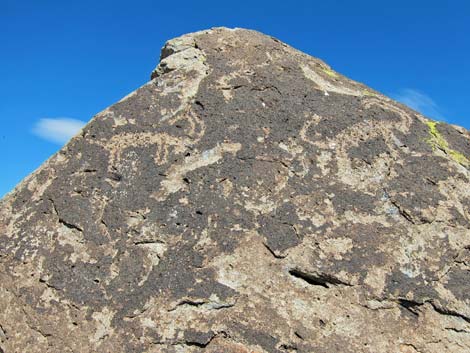 Site 12; Bighorn Sheep |
 |
 |
 |
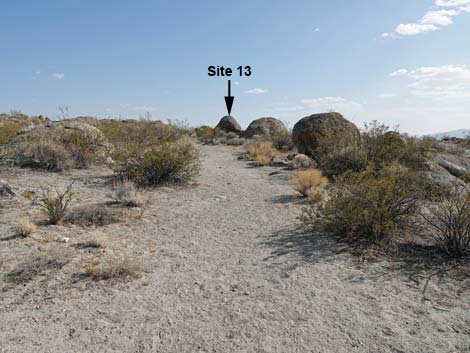 |
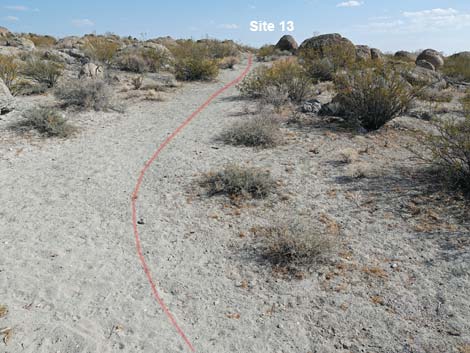
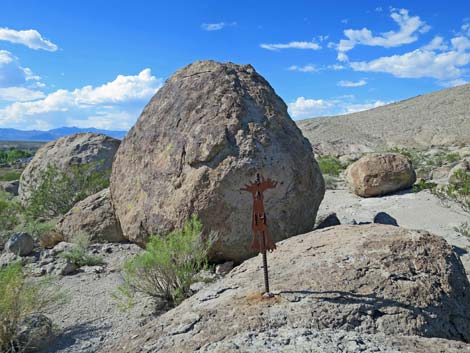
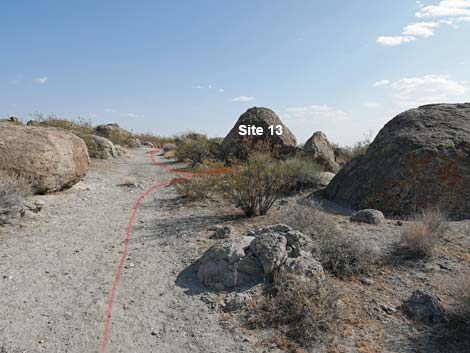 Old road arriving at Marker #13 (view S) |
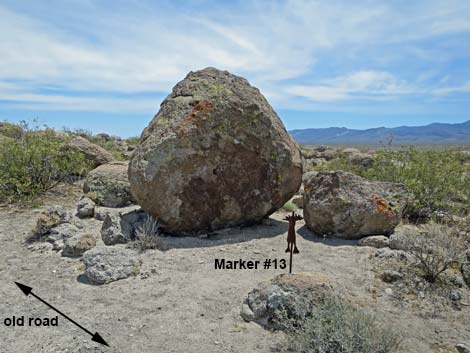 Marker #13 (view SW from old road) |
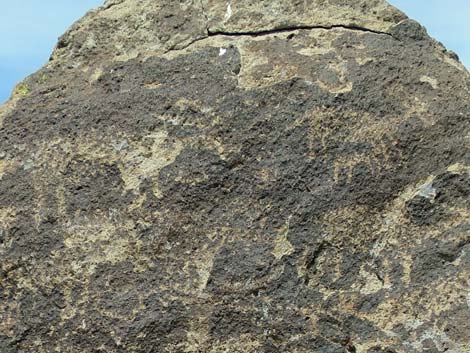
 Site 13: faint bighorn sheep and atlatl (view SW) |
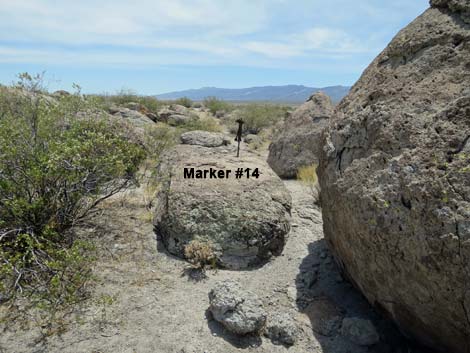 Marker #14 is on the backside of Site 13 (view SE) |
 Marker #14 (backside of Site 13; view N) |
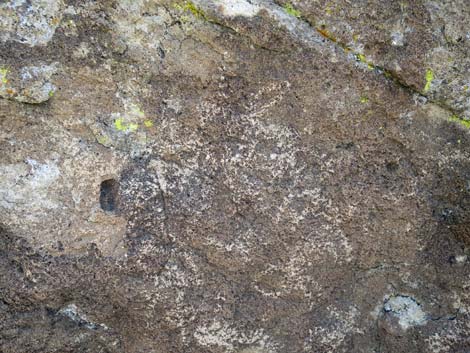
 Site 14: lots of bighorn sheep (view NE) |
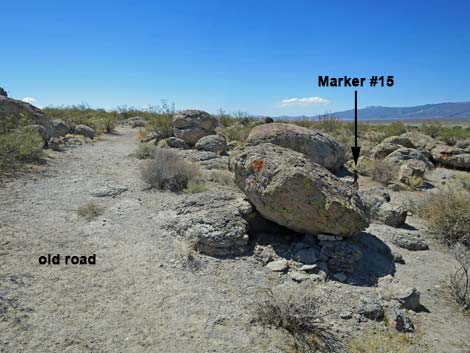 Continuing on old road towards Marker #15 (view S) |
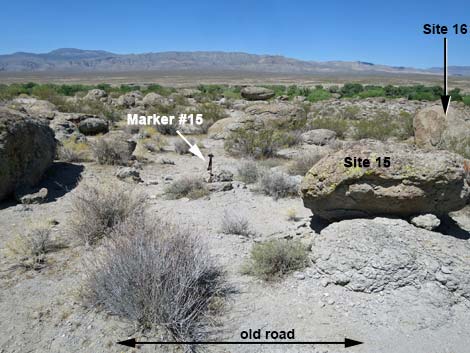 Marker #15 (view W from old road; note Marker #16 in background) |
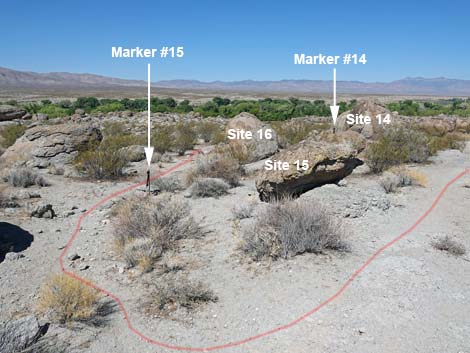 Trail follows road, then loops back into Marker #15 (view NW) |
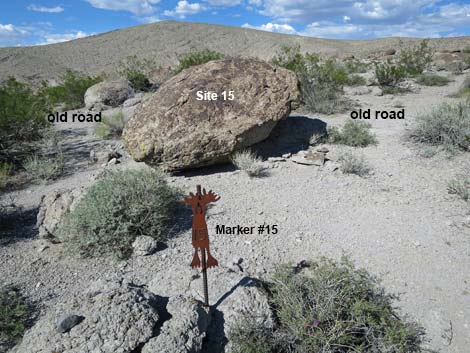 Marker #15 includes one boulder (view NE towards old road) |
 Site 15; Atlatl on top of the boulder |
 Trail continues downhill to Site 16 (view NW) |
 Trail arriving at Site 16 (view NW) |
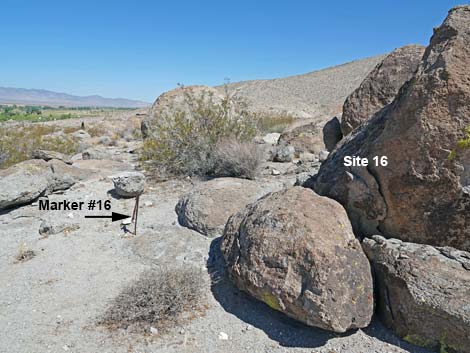 Arriving at Site 16 (view N) |
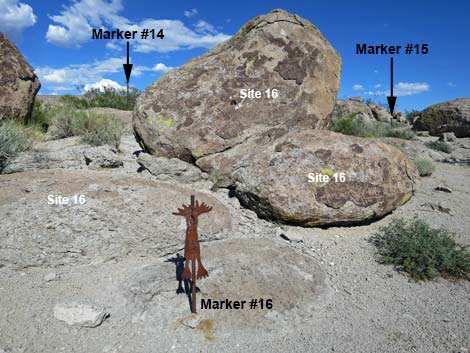 Site 16 includes two boulders with petroglyphs (view E) |
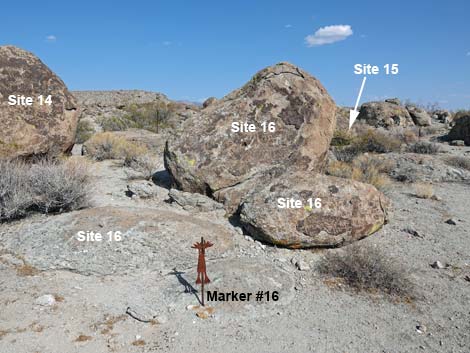 Three boulders at Site 16 (view NE) |
 Site 16: bighorn sheep and curved lines (view SE) |
 Departing Marker #16 (view SW towards Stacked Rocks) |
 Trail passes arrow, then crosses the access road (view SW) |
 Directional arrow, then crosses the access road (view SW) |
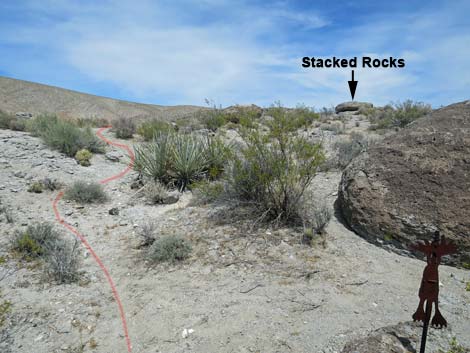
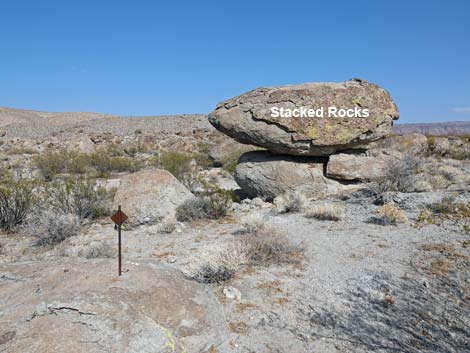
 Across road, trail passes Stacked Rocks (view SE) |
 Usually a nice bit of shade under the Stacked Rocks (view W) |
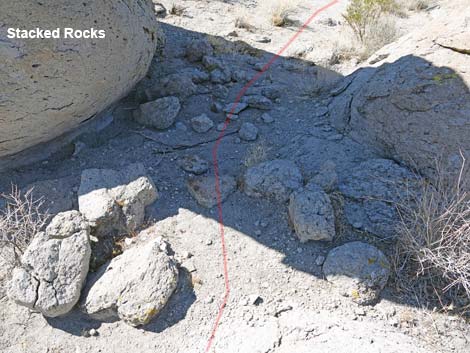 Aligned stones under Stacked Rocks? |
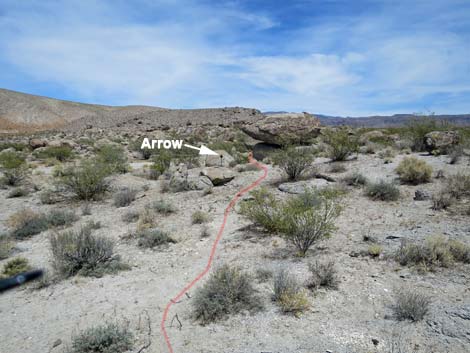
 Past Stacked Rock, trail passes directional arrow (view SW) |
 A small "guilt pile" below the directional arrow |
 Trail continues past directional arrow towards Marker #17 (view SW) |
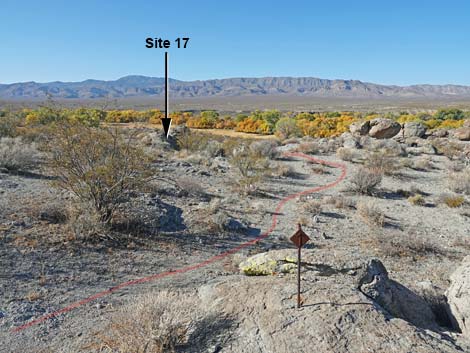
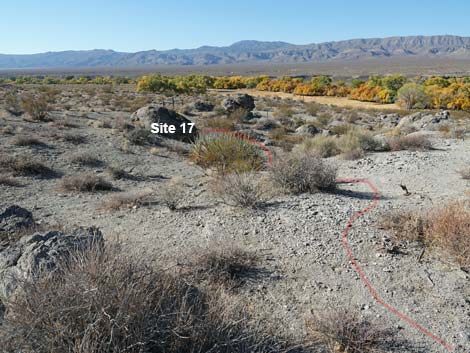 Marker #17 comes into view (view SW) |
 Approaching Marker #17 (view SW) |
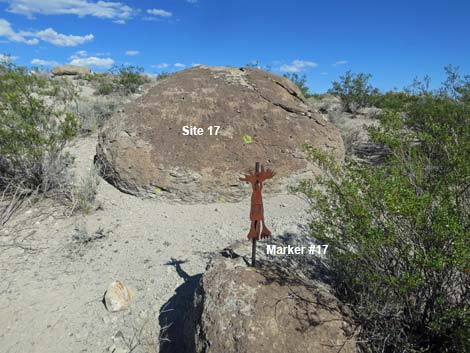 Marker #17 (view SE) |
 Site 17: bighorn sheep with atlatl (view E) |
 Departing Marker #17 heading back towards Stacked Rocks (view E) |
 Arrow marks the route towards Stacked Rocks (view E) |
 Arrow and Stacked Rocks (view E) |
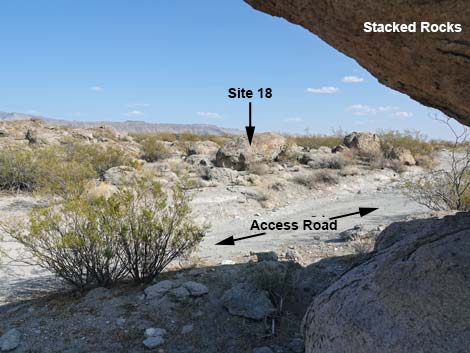 Marker #18 is visible across road from Stacked Rocks (view E) |
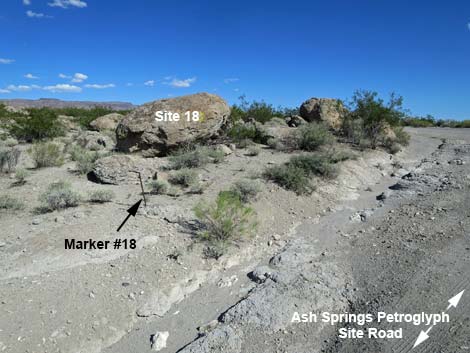 Approaching Marker #18 (only the post remains; view SE) |
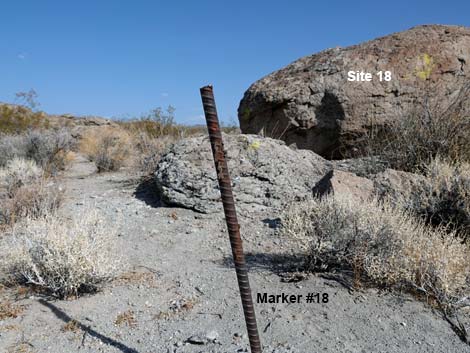 Approaching Marker #18 (only the post remains; view E) |
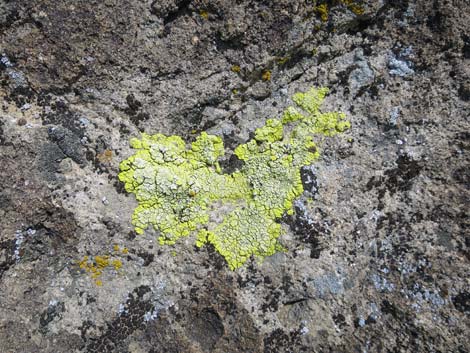 Site 18: no petroglyphs, but wild lichens |
 Site 18 gives a view towards Shaman Vista (view E) |
Return to Trailhead via Access Road
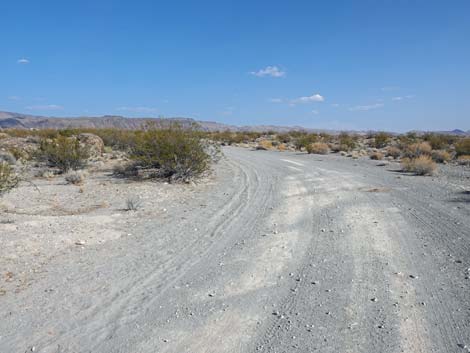 Returning up the Access Road (view E) |
 Returning up the Access Road (view E) |
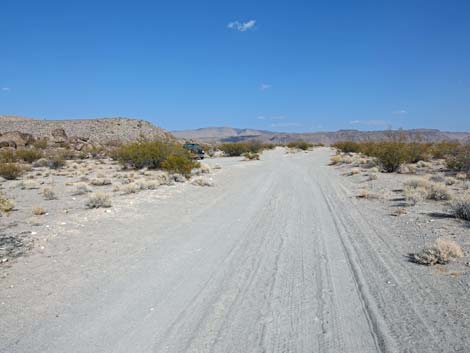
 Returning up the Access Road to the trailhead (view NE) |
 More to come ... |
Return to Trailhead via Old Road
 Returning towards the trailhead on the old road (view SE) |
 Arriving at the trailhead (Marker #1; view SE) |
Table 1. Hiking Coordinates based on GPS data (NAD27; UTM Zone 11S). Download Hiking GPS Waypoints (*.gpx) file.
| Wpt. | Location | UTM Easting | UTM Northing | Elevation (ft) | Point-to-Point Distance (mi) | Cumulative Distance (mi) | Verified |
|---|---|---|---|---|---|---|---|
| M01 | Marker 01 (sign-in register) | 660204 | 4146972 | 3,683 | 0 | 0.00 | GPS |
| M02 | Marker 02 | 660214 | 4146982 | 3,691 | 0.01 | 0.01 | GPS |
| M03 | Marker 03 | 660233 | 4146987 | 3,692 | 0.01 | 0.02 | GPS |
| M04 | Marker 04 | 660231 | 4147006 | 3,702 | 0.02 | 0.04 | GPS |
| M05 | Marker 05 | 660237 | 4147013 | 3,703 | 0.01 | 0.05 | GPS |
| M06 | Marker 06 | 660239 | 4147025 | 3,702 | 0.01 | 0.06 | GPS |
| M07 | Marker 07 | 660235 | 4147034 | 3,696 | 0.01 | 0.07 | GPS |
| M08 | Marker 08 | 660237 | 4147050 | 3,694 | 0.01 | 0.08 | GPS |
| M09 | Marker 09 | 660217 | 4147061 | 3,694 | 0.02 | 0.10 | GPS |
| M10 | Marker 10 | 660173 | 4147058 | 3,688 | 0.03 | 0.13 | GPS |
| M11 | Marker 11 | 660107 | 4147062 | 3,665 | 0.04 | 0.17 | GPS |
| M12 | Marker 12 | 660117 | 4147054 | 3,666 | 0.01 | 0.18 | GPS |
| M13 | Marker 13 | 660142 | 4147012 | 3,675 | 0.03 | 0.21 | GPS |
| M14 | Marker 14 | 660143 | 4147006 | 3,676 | 0.01 | 0.22 | GPS |
| M15 | Marker 15 | 660148 | 4146999 | 3,675 | 0.01 | 0.23 | GPS |
| M16 | Marker 16 | 660137 | 4147004 | 3,673 | 0.01 | 0.24 | GPS |
| M17 | Marker 17 | 660082 | 4146974 | 3,664 | 0.04 | 0.28 | GPS |
| M18 | Marker 18 | 660123 | 4146988 | 3,676 | 0.03 | 0.31 | GPS |
| M01 | Marker 01 (sign-in register) | 660204 | 4146972 | 3,683 | 0.06 | 0.37 | GPS |
Happy Hiking! All distances, elevations, and other facts are approximate.
![]() ; Last updated 240323
; Last updated 240323
| Petroglyphs | Glossary | Copyright, Conditions, Disclaimer | Home |